

I found out it’s national Ice Cream Day in the USA and well, this Canadian girl likes ice cream way too much not to join in on the celebration.
I’ve taken the summer off from all commitments and I’m using the time to catch up on things and to create and enjoy the things I love to do most. Lucky for me I am able to combine doing what I love with some of the things that need to be done, like build graphics for websites my Mr. has taken on. It’s not going to get us rich but it is something we can do together and together is where we want to be.
Speaking of getting rich, haha, my Mr. added a DONATE button onto my blog because he’s loving me being home and he also supports my making nice things to give away to you. I spend quite a bit of time and effort in making my elements top-notch, (this Ice Cream elements set took me two full days!) so if you’re able to help out, a buck or two here and there would be oh so welcome! If you absolutely can’t - no worries, I’ve been there before and been very blessed with the best designer friends in the world who gave me a helping hand when I started. All the money I earn generally goes right back into supplies and well … I want a Cameo in the worst way! I’d bet totally chuffed to “earn” it here through your generosity! Cameo for me = more freebies for you.
If you’re a designer - I DO allow some commercial use if you’ve contacted me and I’ve given permission, details are included in my TOU.
Little note:
I won a Playing in Paradise Card Challenge - (hopping up and down!) More to come when my looty arrives in the mail! If you have not joined in the challenge before you should consider it, the prizes are fabulous! Thank you to the PPC design team for hosting.

Apricots are Ready!
here in the beautiful, sunny Okanagan, Canada
I enjoyed making last week’s popsicle file so much that when I heard about Ice Cream Day I decided to create an ice cream cone… and it turned into two versions.
Card


Personal Use
Includes fully layered PSD, PNG layers
and .studio files and full cut-sheet.
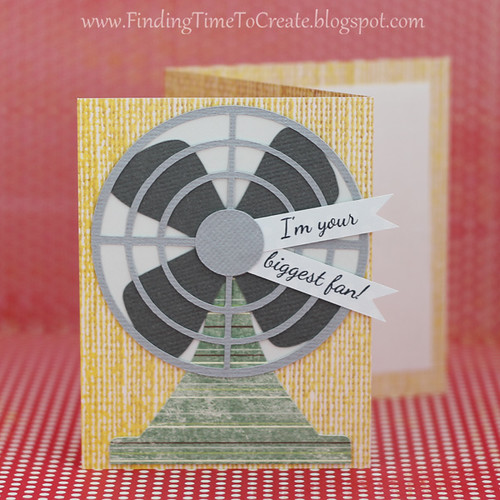
Another Little note - KELLY over at Finding Time to Create has a wonderful tutorial on how to make this sweet summer fan cut. GO VISIT!
In case you might wonder how I create the “texture” on my elements I’ll tell you how I achieved the look for the ice cream and then the cones.

I start with the plain shape of the scoop of ice cream png (it has a transparent background, imporant for this tutorial). Then I went on the internet and found a free texture of cement. I saved it then brought it into Photoshop and placed it on a layer above the scoop of ice cream.

Next I hold down the Ctrl key on my computer and click in the layer which has the shape of the ice cream blob. This turns the shape of the ice cream blob into a “selection”

A selection contains everything inside the shape.

I want to get rid of everything that is outside the shape so I click into the layer that has the cement and then I go to the toolbar and choose SELECT and then INVERSE. Now everything outside the shape is selected. At this point I hit the delete key on my keyboard and voila! Next I use the Ctrl + d keyboard shortcut to remove the selection.
One thing I always do now is to remove the color from the texture - I don’t want it to color tint whatever is on the layer below.

I do this by going up to IMAGE then ADJUSTMENTS then choosing BLACK & WHITE. When the instruction window pops up hit OK.
Now we are ready to blend this texture over our blob of ice cream.

Next we go to our Layers panel, click the arrow for the drop down menu and choose OVERLAY. Magic, huh?
Ok, so now we have our ice cream the right color but its sort of “flat” looking, right? Here’s how we will fix that.

Before we begin to alter the look of the Ice Cream, we need to merge the two layers together. As in my illustration above, click the teensy tiny triangle and when the drop down menu is presented choose MERGE VISIBLE.

See? Now we have just one layer with a texture to it. Lets go shade it a bit.

On the far left of your screen are your brushes and the tools. Find the hand (about 1/2 way down) and click onto it. You will get three choices, the DODGE TOOL, the BURN TOOL and the SPONGE TOOL. We will be using the dodge tool and burn tool in this project. Lets grab the burn tool first.
I have my brush size set to a fuzzy brush and it’s sized at 78. Now we just start “painting” onto the Ice Cream in the areas we want to darken. These would be areas which fall into shadow.

So, mainly around the edges, at the “waist” and under the ruffles at the bottom. We could almost just leave it as is now, but just for this lesson lets change our tool to dodge and add a nice highlight or two.

There you have it! If you have Photoshop you might want to try this yourself using the PNG in my Ice Cream Day Elements!
Note - for the cones, believe it or not, I used a fine, smooth cement texture. The possibilities are endless.


Good evening Barb:)
ReplyDeleteWOW!! Your beautiful card looks good enough to eat!!mmmm:) It's soo COOL that you did a tutorial on the ice cream cone for everyone. SWEET!!
CONGRATULATIONS on your WIN!!! Happy Dance time.:)I can just see you bouncing up and down all over the house.LOL Too COOL!! Happy for you!!
I LOVE the pic of you with your hands full of apricots. You look so happy.Canning time yet? :)
Well..it's after bedtime here..so will say goodnight for now.
Love,
Valinda
P.S...Thanks so much for the cutting files.:)
ReplyDelete